I found two articles here and here which give an overview of common git commands. At the time I was trying to find a way to copy files up to github.com to a newly created repository. It took a bit of trial and error and additional searching but I eventually managed to work out how to create a repository and upload the files. Below is a script of the command used, this assumes the git install folder is referenced in the machine’s Environment Variables to recognise the git command.
If you already have a folder containing files skip the first two points
1) Open Windows Explorer and create a new folder at the desired location.
2) Copy your source files to the newly created folder.
3) Open a command prompt.
4) Change to the new folder, e.g if I created a folder called MyWebsite I would type the following before pressing Enter.
cd my_project
5) To initialise the repository for git versioning type this command.
git init
6) Tell git to check and reference all new files using the * wildcard.
git add *
7) At this point you can check the status of the files in the folder.
git status
A message is output to the command window similar to that below. As all files are new they will all be listed prepended by new file:. Any modified or deleted files would have the relevant status.
On branch master

Initial commit

Changes to be committed:
(use "git rm --cached ..." to unstage)

new file: project.sln
new file: css/site.css
8) All new/changed files can be committed to the local repository.
git commit -m "Initial Project Commit"
Following this command a message similar to below will be output to the command window.
[master (root-commit) 864b930] Initial Project Commit
2 files changed, 2 insertions(+), 0 deletions(-)
create mode 100644 project.sln
create mode 100644 css/site.css
9) Add a remote origin (location). Substitute **YourGithubUserName** with your github user name. Substitute **GithubRepository** with the name of your github repository.
git remote add origin https://github.com:**YourGthubUserName**/**GithubRepository**.git
10) At this point you can now list all remote origins for local repository.
git remote -v
A message similar to below will be displayed in the command window.
origin https://github.com/**YourGthubUserName**/**GithubRepository**.git (fetch)
origin https://github.com/**YourGthubUserName**/**GithubRepository**.git (push)
11) Before you can push files to the github repository you have to first pull down the current version.
git pull origin master
The command window will display a file similar to this:
From https://github.com/**YourGthubUserName**/**GithubRepository**
* branch master -> FETCH_HEAD
Merge made by the 'recursive' strategy.
LICENSE | 25 +++++++++++++++++++++++++
README.md | 4 ++++
2 files changed, 29 insertions (+)
create mode 100644 LICENSE
create mode 100644 README.md
12) The local repository can now be pushed to github
git push
at which point you will be prompted for username and password.
Username for 'https://github.com':
Password for 'https://**YourGthubUserName**@github.com':
If successfully authenticated a summary of pushed files will be displayed.
Counting objects: 61, done.
Delta compression using up to 4 threads.
Compressing objects: 100% (56/56), done;
Writing objects: 100% (60/60), 458.30 KiB | 0 bytes/s, done.
Total 60 (delta 9), reused 0 (delta 0)
To https://github.com/**YourGthubUserName**/**GithubRepository**.git
4bd0db0..b33bfd8 master -> master
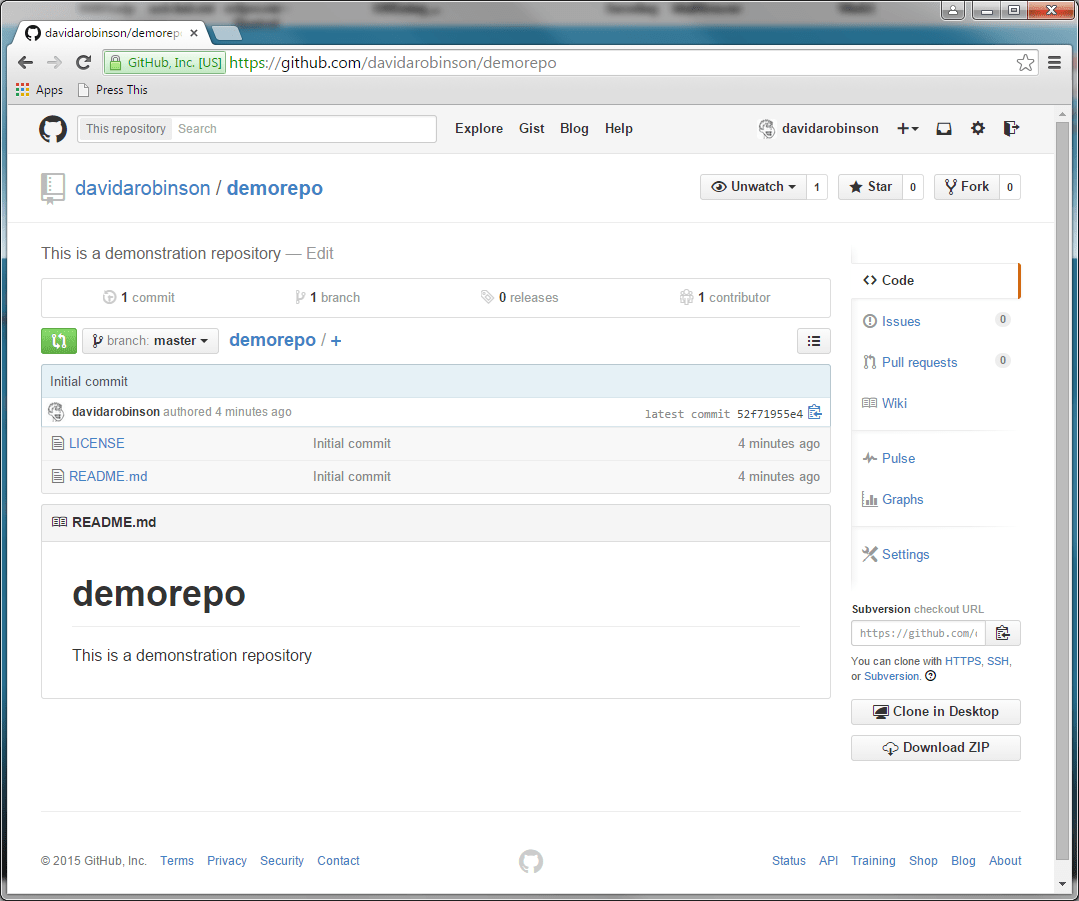
And that is more or less be it. If you log in to your Github account and navigate to the repository folder you should now see all the files.


You must be logged in to post a comment.