In this mini series we will be looking at how to implement EntityFramework 6 (from now on referred to as EF) into an MVC application, primarily using Code First methods. In this first part we are going to set up our project. If you already have a project ready skip to the Setup EF section. If you already have EF version 6 installed feel free to go to part 2: Putting Database Connections into Context.
New MVC Project
I was going to lay out the steps required to create a new project. However, I assume you are able to complete that without step-by-step instructions. Depending on which options you select when creating a new project will determine whether you need to install EF. If you selected an internet application with individual user accounts then EF will have been installed during project creation with a DataContext used for user authentication.
Setup EntityFramework
There are two primary ways to install a NuGet package. By using PowerShell commands in the Package Manager Console or by using a visual interface.
To use the Package Manager Console go to Tools > Nuget Package Manager > Package Manager Console. At the NuGet command line enter this command to install EF
Install-Package EntityFramework -projectname DemoApplication
The -projectname switch forces EF to be installed in a specific project. If you have only one project in your solution you can omit the parameter and use
Install-Package EntityFramework
Either way you should see a message confirming EF has been successfully installed.
To use the visual interface go to Tools > NuGet Package Manager > Manage NuGet Packages for Solution… to open the interface. On the left select Online and in the search box on the right enter entity framework.
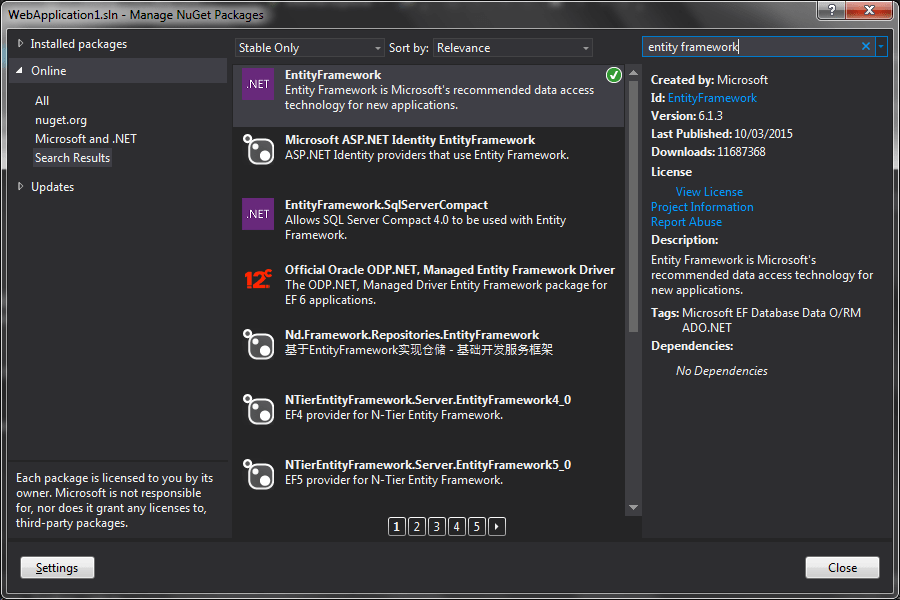
I already have EF installed which is why you see a green circle with a tick. If it is not installed then you will see an install button.
Once you have EF installed you are ready to continue.

One thought on “Using EntityFramework 6 Part 1: Introduction and Setup”